
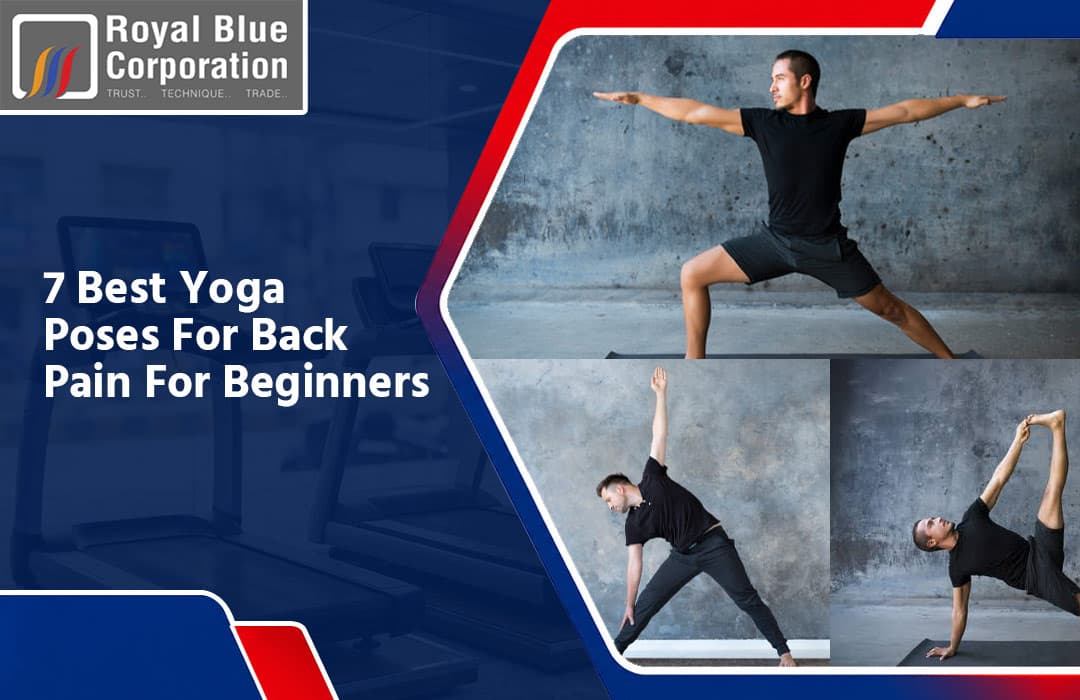
7 Best Yoga Poses For Back Pain For Beginners
Relieve back pain with simple yoga
7 Best Yoga Poses For Back Pain For Beginners
Back pain is one of the most common complaints among adults, whether it comes from long hours sitting at a desk, poor posture, stress, or simply not moving enough during the day. While yoga is not a replacement for medical treatment, a gentle, consistent practice can genuinely help — improving flexibility, building core strength, and releasing the muscular tension that so often sits at the root of everyday back pain. This guide walks through seven beginner-friendly yoga poses for back pain, explains exactly how to do each one safely, and covers what you need at home to get started.
Why Yoga Helps With Back Pain
Back pain often comes from a combination of tight muscles, weak core support, and poor posture built up over months or years — not from a single injury. Yoga addresses several of these root causes at once:
- Improves spinal flexibility, reducing stiffness that contributes to discomfort
- Strengthens the core and back muscles, which support and stabilize the spine
- Encourages better posture, both on and off the mat
- Releases muscular tension, especially in the lower back, hips, and shoulders
- Combines movement with breath, which can also reduce the stress-related tension that worsens pain
A word of caution before you start: if your back pain is severe, persistent, or linked to a specific injury, talk to a doctor or physiotherapist before beginning any new exercise routine. Yoga is best used as a long-term, preventive practice or as a gentle complement to professional treatment — not a substitute for it.
Common Causes of Everyday Back Pain
Before diving into the poses, it helps to understand what's typically driving the discomfort in the first place. Most non-injury back pain traces back to a handful of everyday habits:
- Prolonged sitting, especially with poor desk or chair posture, which shortens the hip flexors and weakens the muscles that support the lower back
- Weak core muscles, which forces the back to compensate for stability it isn't designed to provide alone
- Poor sleeping posture, particularly stomach sleeping or an unsupportive mattress
- Carrying tension from stress, which often settles into the shoulders and lower back without you consciously noticing
- Sudden increases in activity, such as an intense workout after a long period of inactivity
Recognizing which of these applies to you can help you choose which poses in this list to prioritize — for example, someone who sits most of the day will benefit enormously from hip-opening and spinal-extension poses like Cobra and Cat-Cow, while someone dealing with stress-related tension may find the calming, restorative poses like Child's Pose most valuable.
What You Need Before You Begin
You don't need much to start a back-pain-focused yoga practice at home:
- A supportive, non-slip yoga mat — cushioning matters more than you might think when you're on your hands and knees for several poses
- A quiet, flat space with enough room to stretch your arms and legs fully in every direction
- Comfortable clothing that allows a full range of motion
- A blanket or cushion (optional) for extra support under the knees or hips during kneeling poses
If you're setting up a home practice space in Bangladesh, a good-quality mat makes a real difference in comfort and grip. RoyalBlue Corporation stocks home exercise accessories including mats and floor equipment as part of its wider home fitness range, which is worth a look if you're building out a dedicated stretching or yoga corner at home.
1. Cat-Cow Pose (Marjaryasana-Bitilasana)
Cat-Cow is one of the gentlest, most effective ways to warm up the entire spine, and it's usually the first pose taught to beginners dealing with back tension.
How to do it:
- Start on your hands and knees, with wrists directly under your shoulders and knees under your hips.
- Inhale, drop your belly toward the floor, lift your chest and tailbone, and gently look forward — this is Cow Pose.
- Exhale, round your spine toward the ceiling, tuck your chin toward your chest, and draw your navel in — this is Cat Pose.
- Move slowly between the two, matching each movement to your breath, for 8 to 10 rounds.
Why it helps: This flowing movement mobilizes the entire spine, warms up the back muscles, and improves circulation to the area — making it an ideal way to start any back-care routine.
Beginner tip: Keep the movement slow and controlled. If your knees feel sensitive on the mat, fold a small blanket underneath them.
2. Child's Pose (Balasana)
Child's Pose is a restful, calming stretch that gently lengthens the lower back while allowing your whole body to relax.
How to do it:
- Kneel on your mat, then sit back toward your heels.
- Widen your knees slightly and bring your big toes together behind you.
- Fold your torso forward between your thighs, extending your arms out in front.
- Rest your forehead on the mat and breathe deeply, holding for 30 seconds to a few minutes.
Why it helps: This pose stretches the lower back, hips, and shoulders simultaneously, while calming the nervous system — useful if your back pain is tied to stress or tension.
Beginner tip: If your forehead doesn't reach the mat comfortably, rest it on a folded blanket or a block instead of straining your neck.
3. Downward-Facing Dog (Adho Mukha Svanasana)
This classic pose lengthens the entire back body while building strength in the shoulders, arms, and legs.
How to do it:
- Start on your hands and knees, then tuck your toes and lift your hips up and back.
- Straighten your legs as much as feels comfortable, forming an inverted V shape with your body.
- Press your hands firmly into the mat and let your head hang naturally between your arms.
- Hold for 5 to 8 breaths, pedaling your feet gently if your hamstrings feel tight.
Why it helps: This pose decompresses the spine and stretches the hamstrings and calves, which are often tight enough to pull on the lower back and contribute to pain.
Beginner tip: Keep a generous bend in your knees if your hamstrings are tight — a straight-leg version isn't necessary to get the benefit.
4. Cobra Pose (Bhujangasana)
Cobra Pose gently strengthens the upper back while opening the chest, which helps counteract the forward-hunched posture that builds up from hours of sitting.
How to do it:
- Lie face down with your hands placed under your shoulders, elbows bent and hugged close to your body.
- Press through your palms and slowly lift your chest off the mat, keeping your elbows slightly bent.
- Keep your shoulders relaxed away from your ears, and avoid lifting too high if you feel any pinching in the lower back.
- Hold for a few breaths, then lower back down slowly.
Why it helps: This pose strengthens the muscles that run along the spine and improves upper back mobility, both of which support better posture over time.
Beginner tip: Lift only as high as feels comfortable — a small, controlled lift is more beneficial than forcing a deep backbend.
5. Knee-to-Chest Pose (Apanasana)
This is a simple, gentle stretch that targets the lower back directly and is often recommended even for people currently experiencing mild back discomfort.
How to do it:
- Lie on your back with your legs extended.
- Bring one knee toward your chest, holding it gently with both hands.
- Keep your lower back pressed toward the mat and hold for 20 to 30 seconds.
- Switch sides, then try bringing both knees to your chest together for a fuller stretch.
Why it helps: This pose releases tension in the lower back and glutes while gently decompressing the lumbar spine.
Beginner tip: Keep the movement gentle — this pose should feel like a relieving stretch, never a strain.
6. Supine Spinal Twist (Supta Matsyendrasana)
A gentle twisting stretch that releases tension along the spine and into the hips, often an area that quietly contributes to back discomfort.
How to do it:
- Lie on your back with your knees bent and feet flat on the floor.
- Extend your arms out to the sides in a T shape.
- Slowly lower both knees to one side, keeping your shoulders flat on the mat.
- Hold for 20 to 30 seconds, then bring your knees back to center and repeat on the other side.
Why it helps: Twisting movements help release tension built up along the spine and can relieve tightness in the lower back and hips that builds up from sitting for long periods.
Beginner tip: Let your knees rest at whatever height feels comfortable — they don't need to touch the floor for the stretch to be effective.
7. Bridge Pose (Setu Bandhasana)
Bridge Pose strengthens the back, glutes, and legs while gently opening the front of the hips, making it a strong finishing pose for a back-care sequence.
How to do it:
- Lie on your back with knees bent and feet flat on the floor, hip-width apart.
- Keep your arms resting alongside your body, palms down.
- Press through your feet and lift your hips toward the ceiling, keeping your thighs roughly parallel.
- Hold for a few breaths, then slowly lower back down one vertebra at a time.
Why it helps: This pose builds strength in the muscles that directly support the lower back and spine, which is important for preventing future pain, not just relieving current discomfort.
Beginner tip: Avoid pushing your hips too high — a moderate lift with good muscle engagement is more effective than straining for height.
Building a Simple Weekly Routine
You don't need an hour-long session to feel the benefits. A simple, consistent routine works better than an occasional long one:
- 3 to 4 times per week, hold each pose for 20 to 30 seconds (or 8 to 10 breath cycles for flowing poses like Cat-Cow)
- Start every session with Cat-Cow to warm up the spine before deeper stretches
- End every session with Child's Pose, letting your body fully relax before you stand back up
- Move slowly, and never push into sharp pain — mild stretching sensation is normal, pain is a signal to back off
Consistency matters far more than intensity here. Ten focused minutes most days of the week will do more for your back over time than an occasional hour-long session.
When to See a Professional
Yoga can be a genuinely helpful tool for everyday back tension, poor posture, and general stiffness. However, you should speak with a doctor or physiotherapist before starting if you have:
- Pain that radiates down your leg, or numbness and tingling
- A recent back injury or surgery
- Pain that doesn't improve, or worsens, with gentle movement
- Any condition where your doctor has specifically advised against certain movements
In these cases, a professional can help you figure out which movements are safe, so you can build a yoga practice that supports your recovery rather than working against it.
Setting Up Your Home Practice Space
Since consistency is what actually delivers results, it helps to have a small, dedicated space at home where your mat is always ready to go rather than something you have to dig out each time. A supportive mat with good grip protects your wrists and knees during kneeling and hands-and-knees poses, which matters over dozens of sessions. If you're building out a broader home fitness corner — pairing your yoga practice with light strength or cardio work — RoyalBlue Corporation's home exercise accessories offer mats, resistance equipment, and other essentials to round out a simple, effective setup without needing a full home gym.
Final Thoughts
Back pain rarely has one single cause, which is exactly why a well-rounded, gentle yoga practice can help — it improves flexibility, builds supportive strength, and releases tension all at once. Start with these seven poses, move slowly, breathe deeply, and stay consistent. Over weeks rather than days, most beginners notice a real difference in how their back feels, both during the practice and throughout the rest of the day.